You can use a proxy in Chrome with the help of a browser extension called FoxyProxy.
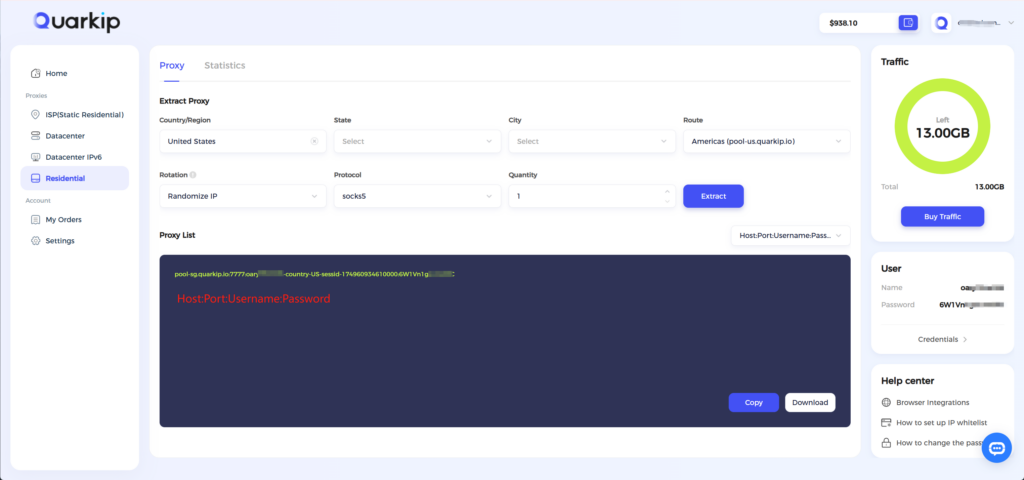
1. Purchase a residential proxy from QuarkIP and complete the necessary configuration. Then click the Extract button. In this guide, we’ll use a united states residential proxy as an example.
- Country/Region:Select the proxy’s country. Choose “Global Mix” for random international rotation
- State (Optional):The proxy’s state/province. Leave blank for random rotation within the selected country
- City (Optional):The proxy’s city. Omit for broader location selection
- Route:Automatically selects optimal routes based on your region
- Rotation
- Sticky IP: Maintains the same IP for ~30 minutes
- Randomize IP: Changes IP with every request Choose based on your use case
- Protocol:Supports both SOCKS5 and HTTP
- Quantity:Select multiple proxies only if needed (e.g., for configuring multiple browser profiles). Otherwise, 1 is sufficient
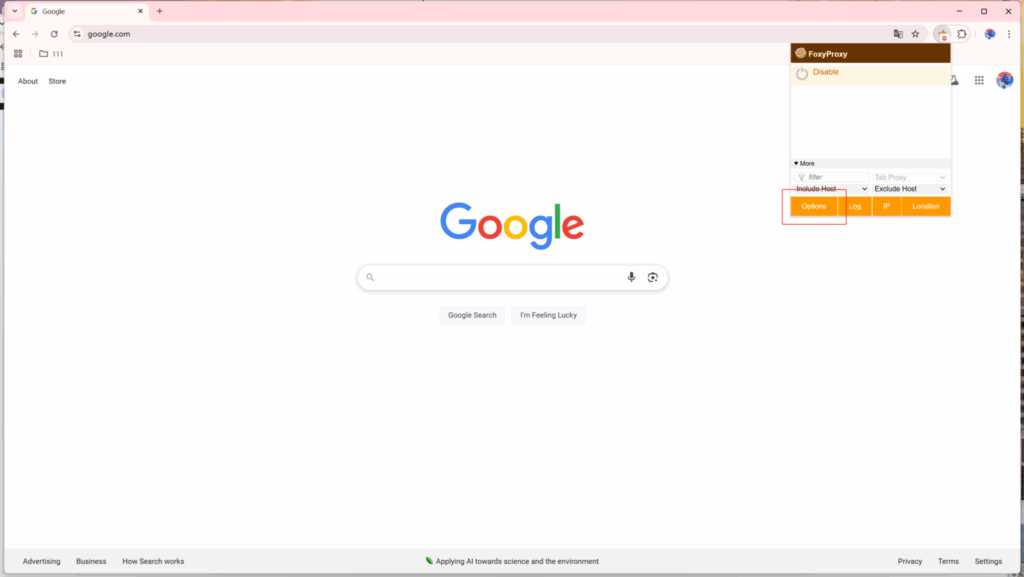
2. Open Chrome, download and install the FoxyProxy extension.
Once installed, click the FoxyProxy icon in the toolbar and select Options.
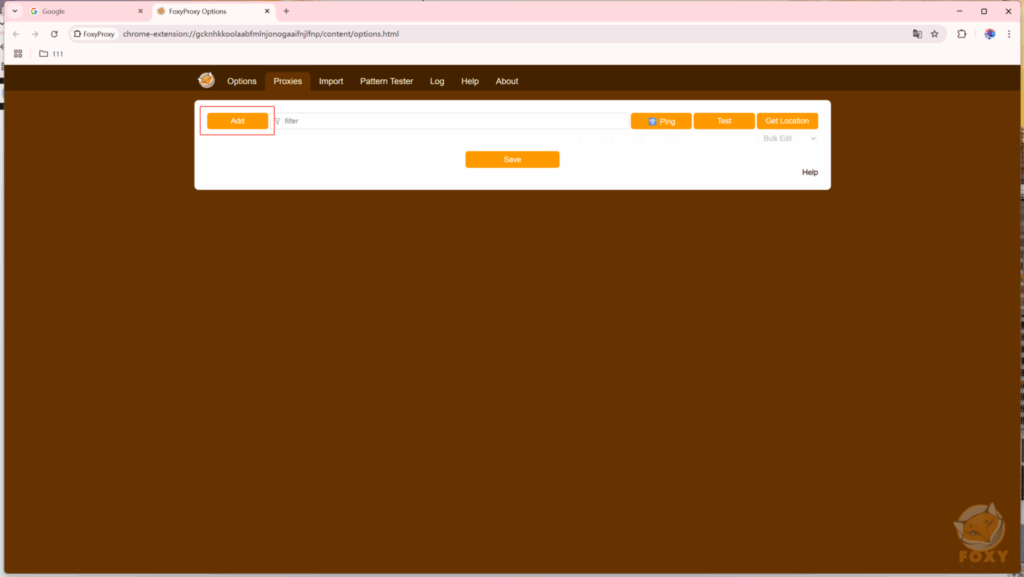
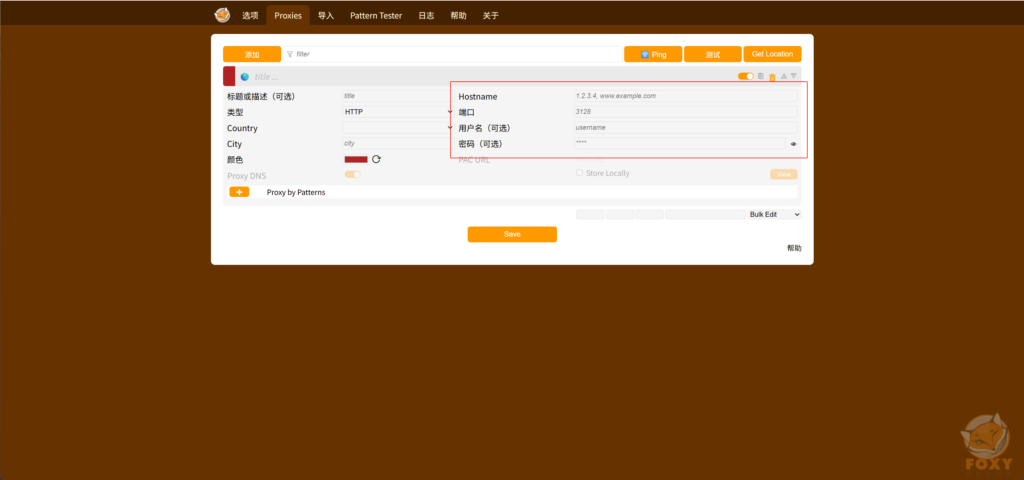
3.In the FoxyProxy dashboard, go to the “Proxies” section and click “Add New Proxy.”
4. Enter the host, port, username, and password of the QuarkIP residential proxy into FoxyProxy. You can choose either HTTP or Socks5 as the proxy type, and optionally assign a custom name to this proxy.
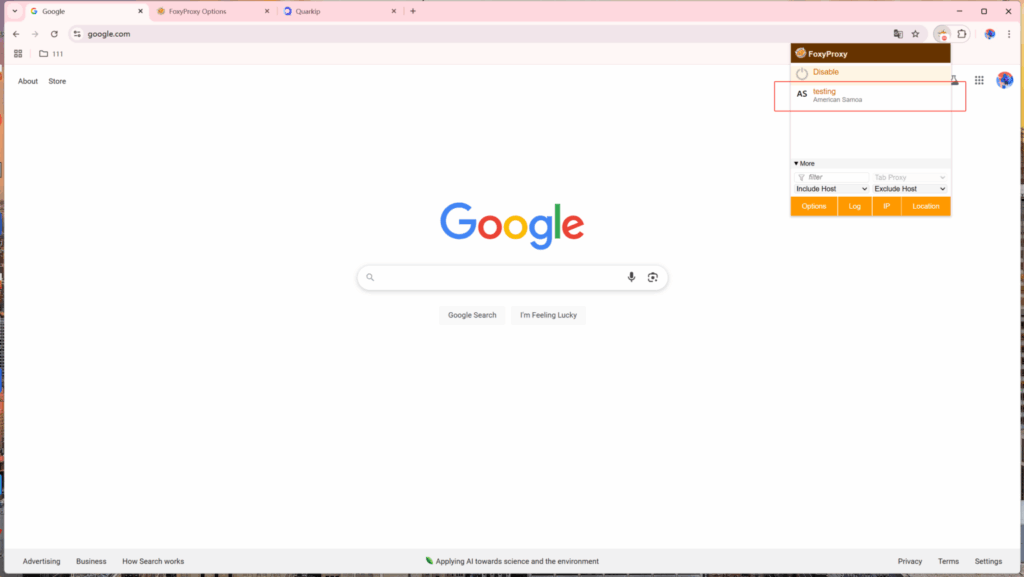
5.After saving, click the FoxyProxy icon again and select the proxy you just added to start using it.